Showing posts with label Home Improvement. Show all posts

Sunday, March 25, 2007

Hanging Cabinets - Part 5: Finishing Up

We had one kind of "odd duck" cabinet that didn't have the same measurements as the others, so we decided to hang that one on another wall. We also hung this one a little lower down on the wall so as to allow for more room on top of the cabinet for storage. We did the same song and dance with the 2x4 and then hung it up. After the cabinets are mounted, you take the 2x4 down since you don't need it anymore.

All in all, this project was really not too tough. It took some time (we spent about 3/4 of a day on it, with various breaks for visiting with neighbors, lunch, beers, etc. Once we learned the trick with the 2x4, we found that this is easily a two-person job. (Although we couldn't have done it half so well without the help of our neighbors.) After we got it going, my husband did most of it by himself, with me helping to hand him screws, brace the cabinet against the wall periodically, etc. The end result was great: we got more storage and a clean garage. And it really looks pretty nice in there now!

Hanging Cabinets - Part 4: uh, Hanging the Cabinets

Once we got the 2x4 up, we set the first cabinet on top. Bracing the cabinet against the wall, we drilled the first screw through the top part of the cabinet and into the stud. We put 3 screws into the top and then 3 into the bottom. Then we went on to the next cabinet and did the same thing.

The smaller cabinets we ended up stacking. They were all 15" high, so we just stacked 2 together and were able to fit 4 on the same wall next to the others. Our neighbor had to leave after we got the first two cabinets up, and the ones we put up all by ourselves didn't go on perfectly (the ones on top seemed to tilt a little somehow and weren't quite flush against the adjacent cabinets) but we decided we're just not all that picky. But if you're the "if you're not going to do a job right, then don't do it at all" type, then you'd probably want to take them down and re-do it. We, fortunately, don't have those kinds of standards.

Hanging Cabinets - Part 3: Measuring & Bracing

Our neighbor, having hung cabinets himself many times before, recommended we mount a 2x4 on the wall to use as a brace for the cabinets. The 2x4 will then bear most of the weight of the cabinet, making it easier to then drill the screws in.

First, you have to measure and mark where you want the bottom of the cabinets to go. We wanted to leave a 1' space between the top of each cabinet and the ceiling. This would allow us space to store additional items above the cabinets. Each cabinet was 30" high, so we measured 42" down from the ceiling and marked the wall. We measured and marked at short intervals along the wall so that we could then line up the 2x4 appropriately. *Important Note: Always measure down from the ceiling and NOT up from the floor. The foundation is floated by human hands and subject to imperfections in height (i.e. - it's not level, or true). The ceiling on the other hand, is designed to be pretty even, so it should be true.

Next we placed the 2x4 along the wall, aligning it with the marks we'd made and then propped the level on top to make sure it was level all the way across. Then we used some really long screws (5 or 6 inches long I think) and mounted the 2x4 to the wall. We used 3 screws and put each into a stud. *Another Important Note: ALWAYS make sure you're screwing into the stud and NOT just into sheetrock. Sheetrock can't really bear any kind of load at all.

Hanging Cabinets - Part 2: Setting Up

First off, we went to the hardware store and got 2.25" screws. It's important that they be long enough to go through the back of the cabinets and well into the stud in the wall. Then we came home and moved most of the stuff out away from the wall. Two of the cabinets were three shelves high and the other 5 were single shelf with 2 doors. They're pretty nice cabinets so they were really heavy. Too heavy for me to really hold up against the wall, actually. We quickly realized that we were going to need another pair of hands. So we called up our next door neighbor Michael, who, incidentally, works for a home builder in the area and knows a bit about home improvement.

DIY Saturday project: hanging cabinets - Part 1

My folks are re-doing a bunch of stuff on their house and asked us awhile back if we wanted some cabinets that they were taking down. I said, "Heck yeah!" because (and this is important) whenever anyone offers you free storage units of any kind, your automatic response should always be "Heck yeah!" And we really needed some storage. We decided to hang most of them in the garage. (We are putting two of them in our bathrooms, but that's another project).

We keep our cars in our garage rather than parking them in the driveway. It keeps them cleaner, safer, and hail damage-free in Texas summers. As a result, we don't have a lot of space in the garage for all the tools, lawn equipment, Big Wheels, etc. Mounting cabinets on the wall to hold all this stuff seemed like a perfect solution. So last weekend, Mama n Daddy came up bearing cabinets and yesterday, we installed them. We sent the kids to stay at their Granny's for the day and set to work.

The following posts go over what we did and what we learned.

Thursday, January 25, 2007

How-to videos - VideoJug

VideoJug is so cool yall. View (free) videos that show you how to do just about anything. The videos are created by normal people like you and me. Want to know the *best* way to vaccuum your stairs? What about how to care for Madagascan hissing cockroaches? Just watch!

I wish I'd video'd my drywall project this past summer. I could have put that up there!

Discovered via: Sites & Soundbytes

Tuesday, October 10, 2006

The Drywall Chronicles - Day 4

Finished at last!

Logan sprayed the final layer of texture on the ceiling today and put the house back together. It made a real mess, with little flecks of popcorn spray on the fireplace, walls, etc. Glad it's over!

Monday, October 09, 2006

The Drywall Chronicles: Day 3

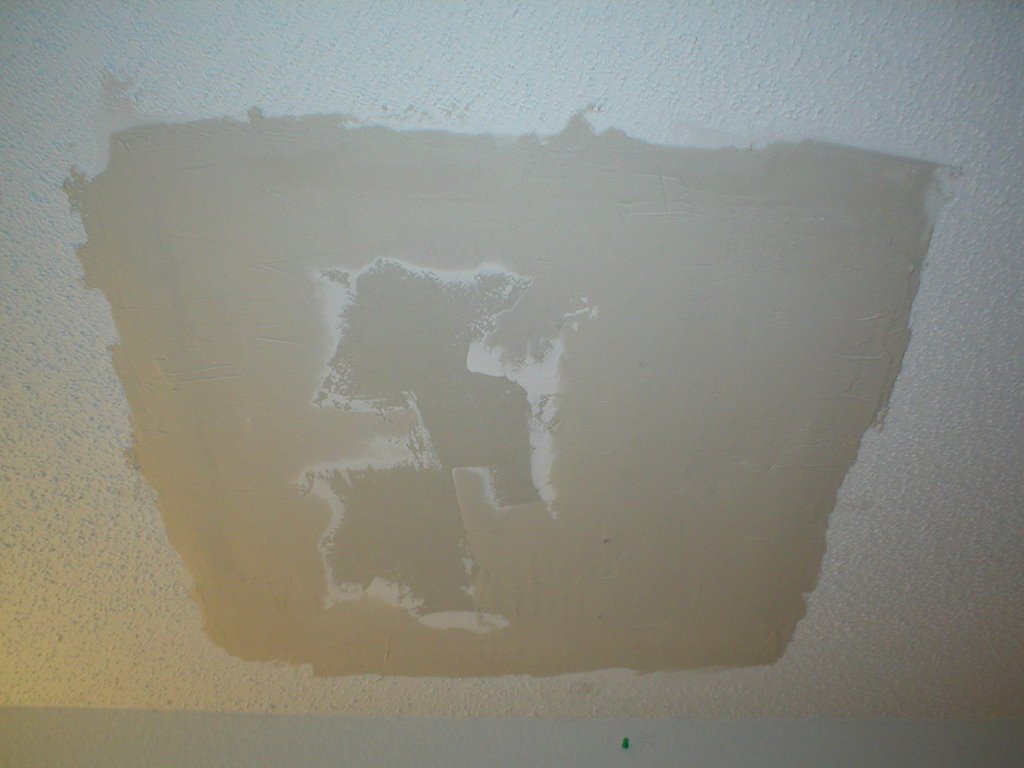
Today I sanded down the ridges left from the joint compound and then primed with a spray primer.

Next it was time to spray on the popcorn acoustic texture. This was a freakin nightmare. Here I am covered in goo and I only got HALF of it done. I think I over-applied it. Oh well... So it looks like I'll be heading back to Home Depot tomorrow for another couple cans to finish up.

Sunday, October 08, 2006

The Drywall Chronicles: Day 2


So I got up this morning and taped everything and then spread 2 layers of joint compound over it.

Now I have never mixed up joint compound before and was a bit taken aback by the instructions on the packaging: "mix to desired consistency" was not particularly enlightening. The internet was not helpful here either. Why doesn't anybody write instructions in terms that women can understand? Do they think only men do handy projects like this? What about men who maybe have never done this sort of thing before?

Anyway, for all you gals out there who need to know: Mixing up joint compound is like cooking. You always add dry ingredients to wet! Mix up your joint compound by first putting a little water in the bottom of your pan. Then, just like in cooking, add in your compound powder one scoopful at a time, stirring constantly. Make it the consistency of thick frosting. There you go.

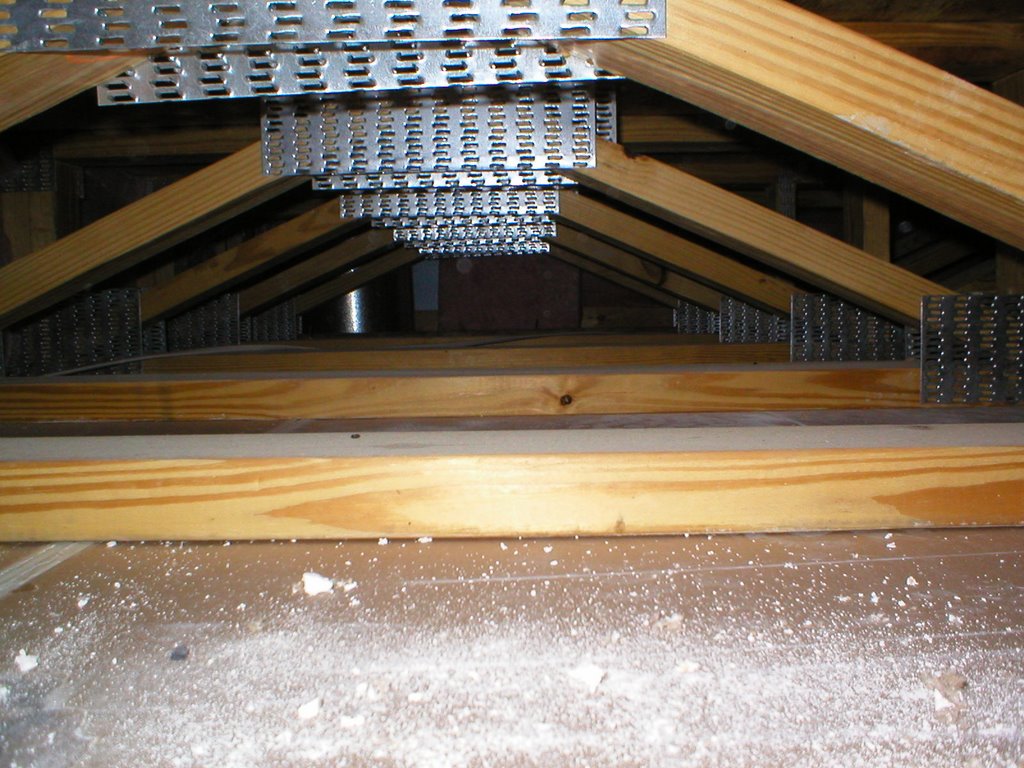
Hicks Cam


So I had my head stuck up through the ceiling a lot. I kept having flashbacks to the movie Aliens.

The Drywall Chronicles: Day 1 continued


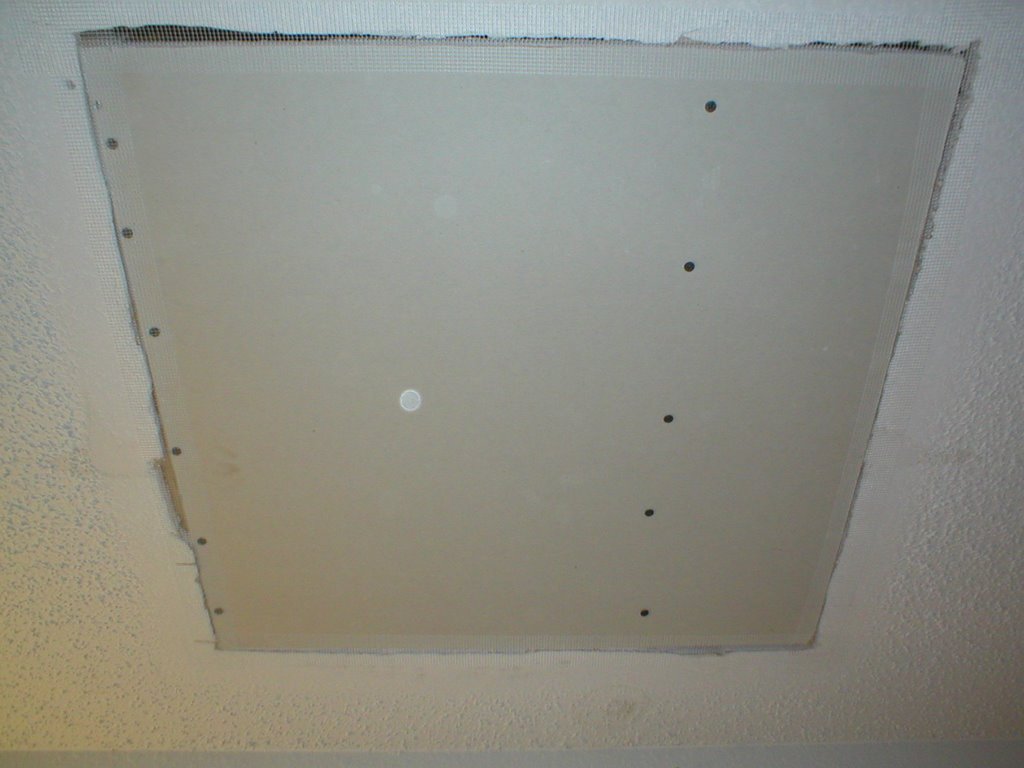
So after we cut the hole, then we had to bolt this big chunk of sheetrock up there. Logan had to do this part for me. I just don't have the upper body strength to hold up the drill like that.

The Drywall Chronicles: Day 1


Thanks to my good friend Chad, I was able to use this handy guide throughout the project. It was pretty helpful, if not extremely detailed.

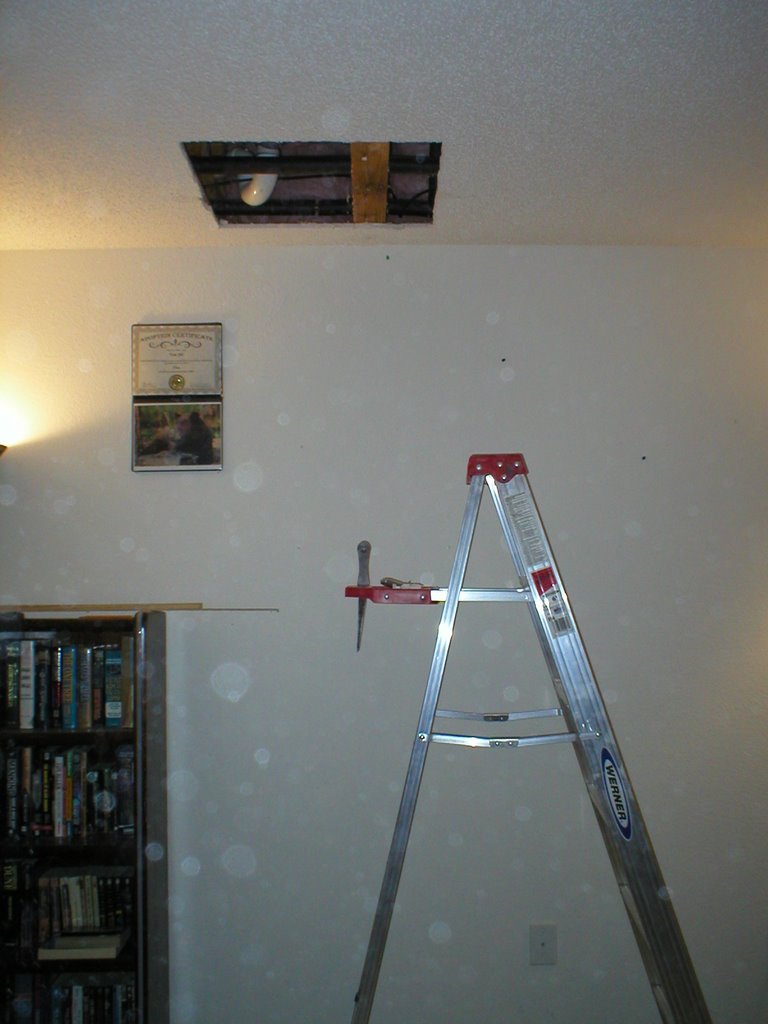
This is the 2' x 2' hole we had to cut to accommodate the new piece of sheetrock. Cutting through the ceiling is a lot harder than it looks. Not only is it tiring, but it's also very messy.

The Drywall Chronicles

This weekend we said goodbye to the unsightly hole in the ceiling of our "library" room. The hole was left by the plumbers who had to cut through the ceiling to fix a leak earlier this summer. I was determined that we could fix this on our own (and save some money to boot). So Violet and I took a trip to the Home Depot yesterday and bought some sheetrock, joint compound, a buncha tools, and some spray on popcorn texture for the ceiling that I can't wait to play with. ;)

To honor my new handygirl status, I have been chronicling the project with photos.